Well, I'm finally done. I'm sad to say that it took ~12 hours to upgrade from Lotus Connections 2.0.0.1 to 2.0.1. It seems that there are some problems with the Update Installer. Apparently, shipping a product on Halloween (like trying an underwater escape) is not a good idea. Or maybe one of our competitors hacked into our servers and broke it for us??
Anyway, here's the steps that I had to take to upgrade my Lotus Connections 2.0.0.1 server to 2.0.1:
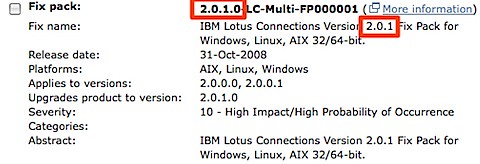
- Download the Lotus Connections 2.0.1 Fix Pack from Fix Central (select Lotus, Lotus Connections, 2.0.0.0, <your platform>)
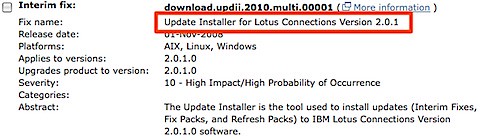
- Download the 2.0.1 Update Installer from Fix Central (select Lotus, Lotus Connections, 2.0.1.0, <your platform>)
- Download the Lotus Connections 2.0.1 Database Wizards from Passport Advantage
- Stop the Lotus Connections server
- Upgrade the DB silently (you can use the wizard, but then you will have to upgrade the Blogs DB manually)
-
Upgrade the product from 2.0.0.1 to 2.0.1 silently (the wizard didn't work for me). I used the following command:
updateLC.bat -installDir c:\ibm\WebSphere\LotusConnections -fixpack -install -fixpackDir c:\ibm\WebSphere\LotusConnections\update\fixpacks -fixpackID LC201_Fixpack -wasUserid lcadmin -wasPassword passw0rd
- Perform step 10 as listed here. (It's listed as an Optional step, but it's really a Required step)
- Start the Lotus Connections server
- Run the following wsadmin command
- Start the wsadmin interface
- Type the following command: execfile("blogsAdmin.py")
- Type the following command: BlogsMigrationService.populateLoginNames()
- Type exit to quit the wsadmin interface
- Stop the Lotus Connections server
- Download the latest fixes from the page where you downloaded the 2.0.1 Fixpack (see step 1 above)
- Install the iFixes silently. I used this command:
updateLC.bat -fix -installDir "C:\ibm\websphere\lotusconnections" -fixdir "c:\ibm\websphere\lotusconnections\update\fixes" -install -fixes LO34540 LO34604 LO34631 LO34638 LO34665 LO34676 -wasUserId lcadmin -wasPassword passw0rd
- Re-do your changes to the <WAS_PROFILE_ROOT>/config/cells/<cellname>/LotusConnections-Config/*.xml files
- Delete your Dogear index
- Start your Lotus Connections server!
And there you have it. I'm giving this to the documentation folks so they can fix the InfoCenter.